Frustration. Every PS Vita owner has felt it.
You buy a few digital games, and suddenly, you’re deleting old favorites just to make space. Need more storage? You better prepare to spend more on a 64GB memory card than an entire used console.
But what if you didn’t have to play this game?
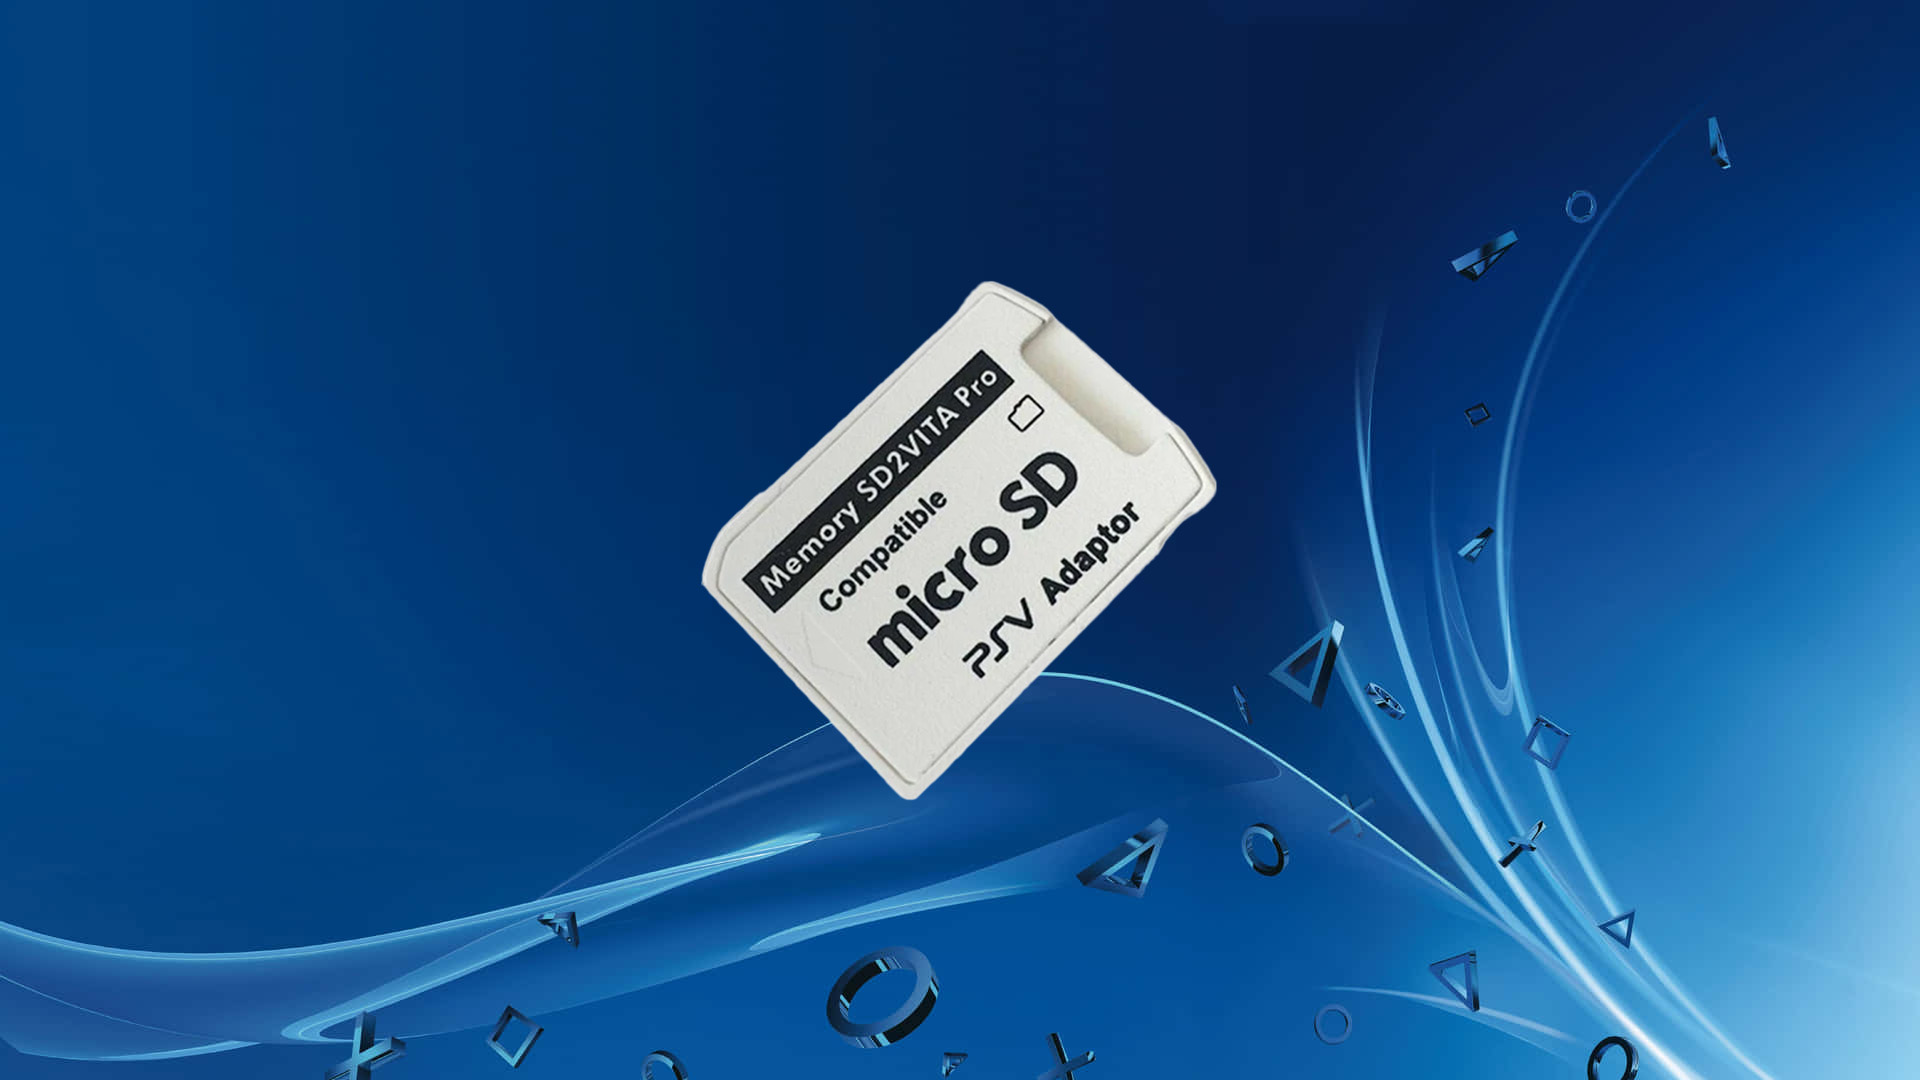
Enter SD2Vita—the ultimate PS Vita storage hack. This nifty little adapter transforms your Vita’s game card slot into a gateway for cheap, high-capacity microSD cards. We’re talking 128GB, 256GB, and even 512GB—all at a fraction of what Sony’s official memory cards cost.
And the best part? You don’t need to be a tech genius to make it work. With this step-by-step guide, you’ll finally unlock your Vita’s true potential—fast and frustration-free.
What is SD2Vita?
SD2Vita is a microSD-to-game-card-slot adapter designed for the PS Vita. It lets you replace Sony’s restrictive memory cards with common, affordable microSD cards.
Here’s the breakdown:
- Adapter + MicroSD: The SD2Vita adapter fits into your game card slot and holds a microSD card.
- Storage Redirection: With the help of homebrew software like YAMT-Vita, your PS Vita can “trick” itself into treating the microSD card as its primary storage (aka ux0).
- Result? Massive storage capacity for digital games, homebrew apps, and backups—without the Sony price tag.
What You’ll Need
Before you dive in, a quick heads-up: SD2Vita won’t work on a stock PS Vita. You need a modded system. If your Vita is still running official firmware, you’ll need to jailbreak it first. Don’t worry—there are plenty of easy-to-follow guides online.
Hardware Checklist:
✔️ SD2Vita Adapter: This adapter transforms your game card slot into a microSD reader.
✔️ MicroSD Card: Go big if you can—128GB or 256GB hits the sweet spot for most users. SanDisk or Samsung microSD cards are your best bet for speed and reliability.
Step 1: Insert the SD2Vita Adapter
Let’s kick things off.
- Insert MicroSD Card into SD2Vita Adapter.
Slide the microSD into the adapter until it clicks into place. - Slot Adapter into PS Vita’s Game Card Slot.
Treat it like any normal game cartridge—gently push it in until it sits firmly.
Step 2: Format the MicroSD Card
Time to get your microSD card Vita-ready. Formatting it through the Vita itself ensures it’s compatible with the system’s storage structure.
- Open VitaDeploy from your home screen and select Start.
- Navigate to Miscellaneous.
- Select Format a storage device.
- Choose Format target storage and confirm that it’s targeting your microSD card.
- Once the format is complete, return to VitaDeploy’s main menu.
- Select Reboot to restart your PS Vita.
Step 3: Install & Configure YAMT
YAMT (Yet Another Mount Tool) is the backbone that lets your Vita treat the microSD card as primary storage. Here’s how to set it up:
- Open VitaDeploy again and go to App downloader.
- Scroll through the list and check YAMT Installer.
- Select Download the selected apps.
- Exit VitaDeploy and find the YAMT Installer bubble on your LiveArea home screen.
- Launch it and select Install the Lite version.
Your Vita will reboot automatically after the installation. - Once rebooted, open Settings from your LiveArea.
- Navigate to Devices → Storage Devices.
- Check the Use YAMT box.
- Under uma0, select SD2Vita.
- Leave ux0 set to Default.
- Power off your Vita completely, then turn it back on.
Your Vita is now prepped to recognize your SD2Vita adapter—but there’s still a bit more work to do before it’s fully functional.
Step 4: Transfer System Files
With YAMT set up, it’s time to move your system files from the internal memory or Sony memory card onto your microSD.
- Open VitaShell on your Vita’s home screen.
- Navigate to the ux0 partition (this is your current primary storage).
- Press △ (Triangle) to open the menu.
- Select Mark All to highlight all files and folders.
- Press △ (Triangle) again and select Copy.
- Navigate to the uma0 partition (this is your microSD card via SD2Vita).
- Press △ (Triangle) and select Paste.
(This will copy all system files from your current storage to the microSD.) - Once the transfer is complete, close VitaShell and go to Settings.
- Navigate to Devices → Storage Devices.
- Set ux0 → SD2Vita.
- Set uma0 → Memory Card or Internal Storage (depending on your Vita model).
- Power off your Vita completely, then turn it back on.
Step 5: Finalize & Verify
Moment of truth. Let’s confirm your Vita is now running off the microSD card:
- Power on your Vita.
- Go to Settings → System → System Information.
- Check Free Space—the available storage should match the capacity of your microSD card (e.g., 128GB, 256GB).
Success?
If everything looks good, congrats—you’ve officially upgraded your Vita’s storage.
SD2Vita FAQ
No. SD2Vita uses the game card slot, so physical cartridges can’t be used while the adapter is inserted. You can swap back to cartridges by removing SD2Vita.
Yes, but once you set the microSD as ux0 (primary storage), your Sony memory card can be set as uma0 (secondary storage). This gives you extra space, but most apps and games will default to the microSD.
Double-check that your microSD is properly formatted using VitaDeploy. Also, verify that YAMT is installed and enabled in Settings → Devices → Storage Devices, and ux0 is set to SD2Vita.


